How to remove toxins from aloe vera leaf?
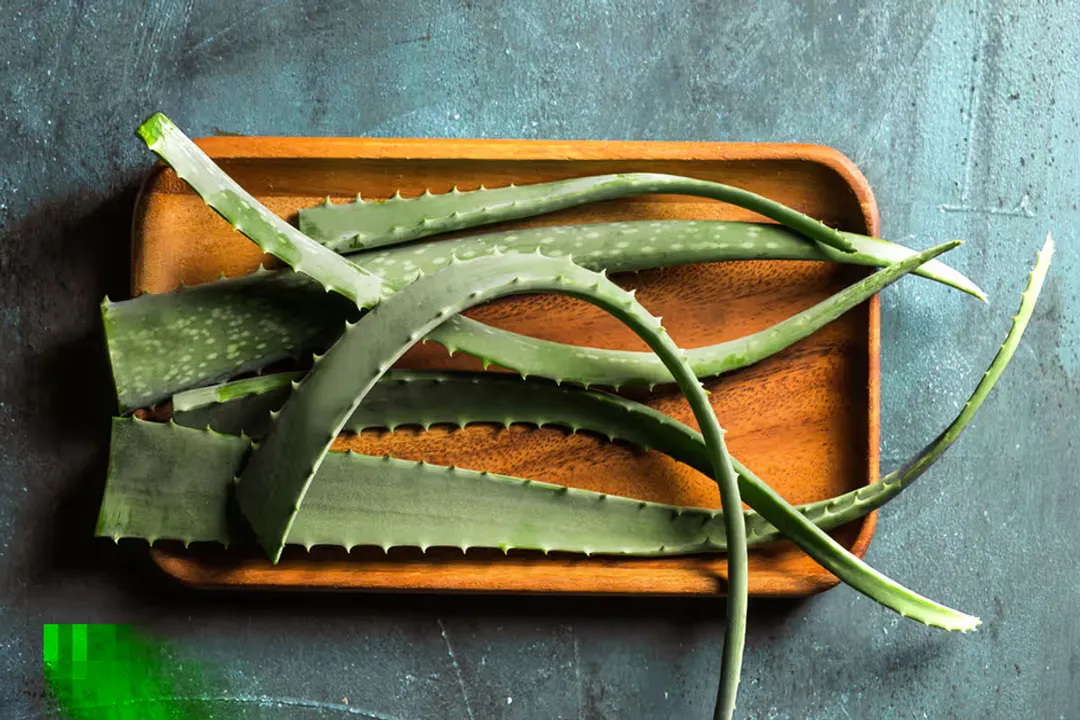
Harvesting aloe vera at home offers a fresh supply of gel for skincare or dietary use, but skipping one vital step can turn a soothing remedy into a digestive irritant. The plant contains a yellow sap, often referred to as latex, which is distinct from the clear, beneficial gel located within the inner leaf. [1] Failing to remove this substance before consumption or topical application can result in uncomfortable side effects, including stomach cramping and diarrhea for those ingesting it, or skin irritation for those using it topically. [1][2]
# The Latex
Aloe vera leaves have two main components: the thick, clear gel and the bitter yellow latex. [2] This yellow liquid is primarily composed of aloin, an anthraquinone derivative that acts as a strong laxative. [1] While some people intentionally use aloe latex for its laxative properties, it is generally considered a toxin when intended for standard skin or dietary applications because it is harsh on the digestive system and can cause sensitivity on the skin. [1]
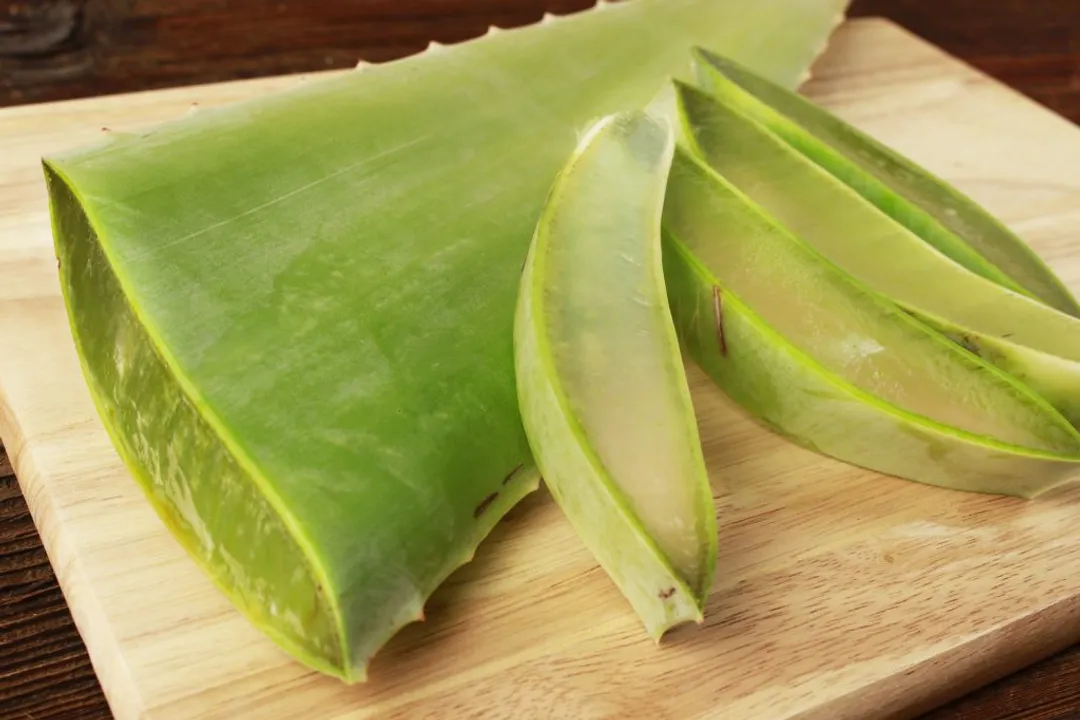
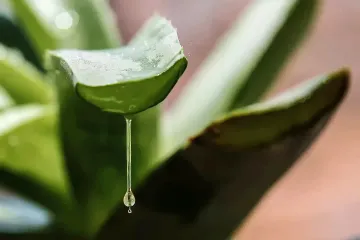
Distinguishing between the two is simple once you cut into a leaf. The clear, mucilaginous gel is the part you want, while the yellow-tinted liquid that seeps out immediately upon cutting is the latex that requires removal. [2] When you slice a leaf, you will notice the yellow sap oozing from the rind. This sap is what must be separated from the clear gel to ensure the final product is safe to use. [2]
# Removal Steps
Proper removal starts with how you handle the leaf immediately after harvesting. The goal is to allow the latex to drain away from the gel entirely before you begin peeling the leaf.
Vertical Draining
After cutting a fresh leaf from the plant, place it upright in a clean container or glass. [2] Position the cut end facing downward. Allow it to stand this way for about 10 to 15 minutes. [2] Gravity will assist the yellow sap in draining out of the leaf. You will see the yellow liquid accumulate at the bottom of the container. If you are harvesting multiple leaves, ensure each is standing vertically so the latex does not contaminate the clear sections. [2]Sectioning
Once the leaf has finished draining, lay it flat on a cutting board. Use a sharp knife to trim off the spiky edges of the leaf, as these are sharp and difficult to peel. [2] After removing the edges, slice off the top and bottom tips of the leaf.Skin Removal
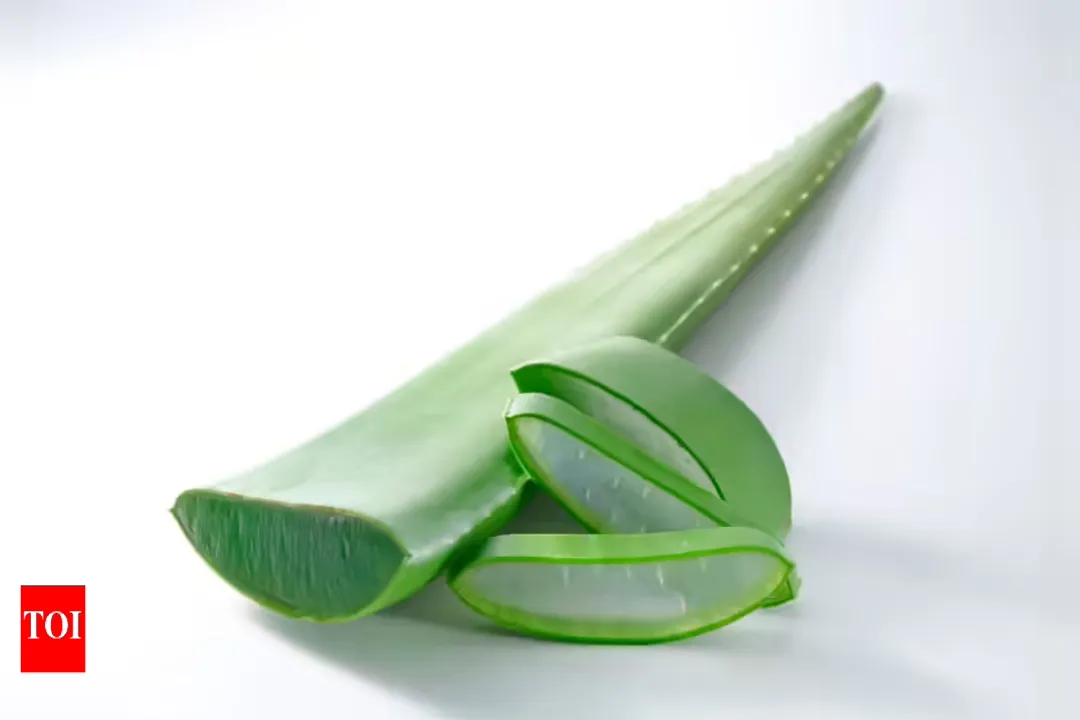
With the sides removed, you can slice the leaf open by running your knife along the length of the skin. This separates the top layer of the rind from the clear gel inside. [2] Carefully peel the rind back or scoop the gel out using a spoon or knife. Be mindful to avoid scraping too close to the rind, as any residual green skin may contain trace amounts of the yellow latex. [2]
# Cleaning Gel
Simply extracting the gel is not the final step. Even after careful peeling, tiny bits of yellow residue can sometimes remain on the surface of the clear gel. A secondary cleaning process is standard practice to ensure purity.
Rinsing
Place the extracted gel cubes or slices into a bowl of cool, clean water. Gently agitate the gel in the water to rinse away any remaining sticky latex. Some people prefer to repeat this rinse two or three times until the water remains clear and the gel feels less slippery or tacky to the touch. [2]The Acid Soak
A highly effective method to ensure all residue is neutralized involves a short soak in slightly acidic water. By adding a teaspoon of lemon or lime juice to your rinsing bowl, you create an environment that helps neutralize residual bitterness and prevents the gel from oxidizing too quickly. [2] Let the gel soak for 15 to 20 minutes. This process also keeps the gel firm and clear, preventing the pinkish or brownish tint that often appears when raw aloe gel is exposed to oxygen for extended periods.
# Selection Tips
The quality of the gel you harvest starts with the leaf you choose. Not all leaves on the plant are identical in their composition or yield. Understanding which leaves to harvest will save you time and ensure a better product.
| Leaf Type | Characteristics | Best Use |
|---|---|---|
| Outer/Bottom Leaves | Thicker, firmer, high volume of gel | Ideal for extraction and storage |
| Inner/Top Leaves | Thin, young, watery consistency | Usually too small to process efficiently |
| Damaged Leaves | Discolored, dry tips, scarred rind | Compost; avoid for extraction |
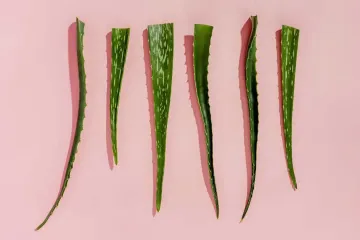
Focus on the thickest, lowest leaves on the plant. These are usually the oldest and have had the most time to develop a dense, nutrient-rich gel. Thin, younger leaves found near the center of the plant often lack the volume of gel found in mature outer leaves and are harder to peel, increasing the likelihood that you will accidentally incorporate more rind into your final product.
# Storage Methods
Once you have successfully cleaned your aloe vera gel, storage becomes the final priority. Because the gel is a natural, organic product without preservatives, it has a limited shelf life and will spoil if left at room temperature.
Refrigeration
For short-term use, place the gel in an airtight glass container. It will typically stay fresh in the refrigerator for about a week. [2] If the gel begins to change color or develop an off-putting odor, discard it immediately.Freezing
If you have harvested more gel than you can use within a week, freezing is the best preservation method. Pour the gel into ice cube trays and freeze them. [2] Once solid, you can transfer the cubes to a freezer-safe bag. This allows you to thaw only what you need at a time. Frozen aloe cubes are particularly useful for skincare, as the cold temperature adds a cooling effect when applied to sunburns or irritated skin.
# Safety Check
While aloe vera gel is widely used, it is important to exercise common sense regarding who uses it. If you have known allergies to plants in the lily family—such as onions, garlic, or tulips—you may be sensitive to aloe vera. [2] Always perform a patch test on a small area of your skin before applying it liberally, especially if you have sensitive skin.
If you are harvesting aloe for consumption, be aware that even small amounts of residual latex can trigger digestive issues in some people. If you notice any bitterness in the gel after rinsing, rinse it again. A bitter taste is a strong indicator that aloin/latex is still present. When in doubt, it is better to rinse it thoroughly once more rather than risking stomach discomfort. By following these careful preparation steps, you ensure that the final product remains a soothing, beneficial resource rather than a source of irritation.
Related Questions
#Citations
Do you remove aloe vera toxin before eating or applying? If not, this is what it ...
How to Make Aloe Vera Gel
How to Remove Aloin and Clean Aloe Vera | DIY Beauty Tips
How to Remove the Gel from an Aloe Vera Leaf - Good Food Life
How to remove poison from aloe leaves for edible use
How to extract poison from Aloe Vera #naturalhair #4chair #hairgrowth